Making Goat Milk Yogurt
During the spring and summer it is feast time around here for dairy products and eggs. I often get up in the morning, look in the fridge and start wondering how I can use up some of the milk that is overtaking the fridge! Some of it gets frozen for use in our Handmade Soaps, while some is used to make cheese. We eat a lot of custards and puddings. We also do some quiche, and we drink a fair bit. One of my favorite uses is in yogurt. It took me some time, and a few total failures, to get a method and recipe that is reliable for me, so I will share it here and try to save others the trouble I went through! My kids were also picky. They want their yogurt to taste like the stuff from the store, so it needs to be thick, pretty sweet, and flavorful. If you are not blessed with picky kids you may not have as many difficulties!
Note: If you don’t have access to goat milk and want to make yogurt with cow’s milk, this will still work fine for you. It just tends to come out even thicker, and you should be fine to skip the pasteurization step if it is from the store.
Goat Milk Yogurt
Ingredients:
42 ounces of fresh goat milk
ABY2C Culture
1/2 – 2/3 Cup Sugar
1 T. Flavoring or Fruit cooked down into a syrup
Yogurt Maker
Process:
1. Pasteurize your milk.
Normally we drink our milk raw. When I make cheese I generally use raw milk as well. Yogurt is one of the few times I pasteurize. The reason I do this is that I get a thinker curd that way. If you don’t mind thinner yogurt and want to leave it unpasteurized, go for it. Basically, by pasteurizing I am eliminating any competing bacteria. When I introduce my yogurt culture I will have only those bacteria growing instead of previously existing ones that might have been already in the milk.
How to pasteurize: It’s not complicated. Dump your milk in a pot, set the heat on the stove to about medium low and bring it up to 180 degrees. Use either a candy thermometer or a laser heat gun to check the temp. I use the heat gun as I always have one around and it is quick and easy. Once it is at 180 let it sit about a minute and then put it in a cold water bath to quickly cool it back down.
2. Add sugar.
I find 1/2 to 2/3 a cup sufficient for this size recipe, even for my children. If I am adding fruit I go lower, if I am using flavoring I go higher.
3. Stir and cool the milk until is is between 110 to 120 degrees.
4. Add 1/32 tsp ABY2C culture and Stir well.
It is important to add the culture at this temp. If you add it above 120 degrees you can kill the bacteria and your yogurt will fail.
I know 1/32 tsp. is a weird measurement and you are wondering how the heck to do that, but it is easy. What you need is a set of teaspoons that have “Dash,” “pinch,” “smidgen,” etc. Like these on Amazon. The smidgen is generally 1/32 of a tsp. I use the ABY2C Culture from get culture.com because it produces a really nice thick curd and is mildly flavored. There are also ways to take existing yogurt and use that to start your next batch, but that is just not the way I do it.
5. Add Flavoring.
If using a liquid flavoring (our favorites are strawberry and vanilla), add about 1 Tablespoon and stir well. If I am making strawberry I usually add a drop or two of red food coloring as well just so the kids can tell the strawberry from the vanilla.
If you prefer to use fruit, you need to prepare it ahead of time. Take around 2/3 a cup of fruit in a small saucepan. Add a couple spoonfuls of sugar and enough water to cover fruit. Bring to a boil and cook it down until it thickens. Add this instead of flavoring. It doesn’t tend to make a strong flavor, but does lend a mild fruity flavor. We like peaches with a little cinnamon when it is peach season, or blueberries. I’m still trying other fruits to see how they do as I have them available.
6. Incubate your yogurt mixture for 10-12 hours.
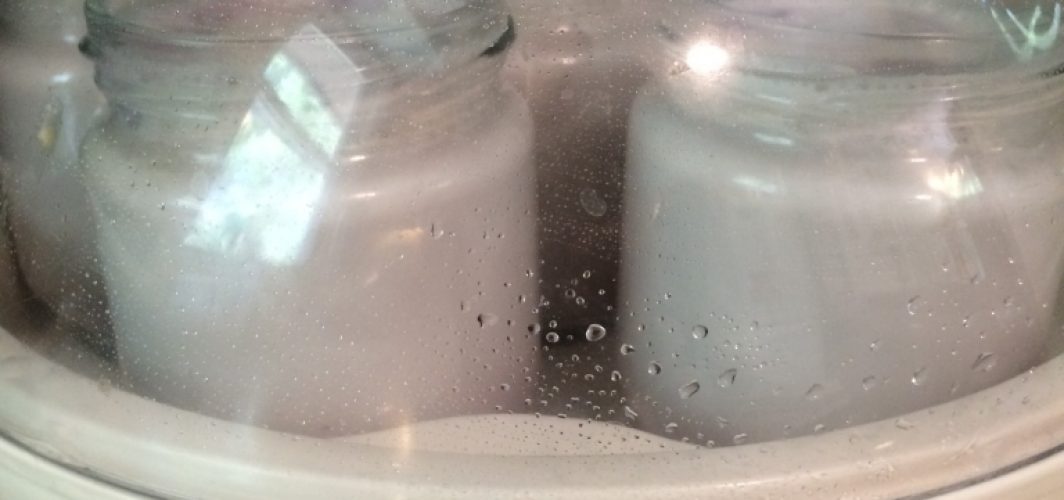
I prefer to use an appliance actually made for this, though others have ways of doing it with a cooler and heating pad or some other such business. My current yogurt maker is a Euro Cuisine. I like that it makes it in little individual glass jars. I used to use one that made it in a big 2 Q. container, but for whatever the reason we eat more yogurt if it is in a little grab and go individual container. The same holds true when I make custard, pudding, jello, etc. Also, sometimes someone would stir the big container. That is a BIG no-no. If you stir yogurt the curd separates and becomes runny. You get yogurt soup. The kids ruined many a 2 Q container by stirring it! The Euro Cuisine makes 7 jars. You want to buy a separate set of jars so that you don’t have to wait until all 7 of your jars are empty and clean again to make you next batch.
I usually make a batch in the morning and then put it in the fridge before I go to bed or I make it in the evening and let it incubate until morning. The incubation time is not a science; you want it somewhere in that range.
7. Refrigerate until cool through. Usually will take at least a few hours.
8. Enjoy!
Yogurt should last about two weeks, though we rarely keep it in the fridge that long! And we are going through tons of it this year!!
